Did it ever happen to you to be in beautiful places, and take pictures, and go back home with high hopes that the photos you took were truly spectacular, only to find out that they turned out awful? It happens to me all the time as I am a perfectionist and always believe that there is always something to improve in a photo. However since my first trip back in 2008 till today, after changing two cameras, visited 14 countries, took 58,939 photos which total 624 GB, I believe that I have learnt something to improve travel photography and I am happy to share it with you.
You do not need a professional SLR to follow these easy steps. You can easily follow the tips below even if you use your phone for photography!
1. Take lots of pictures
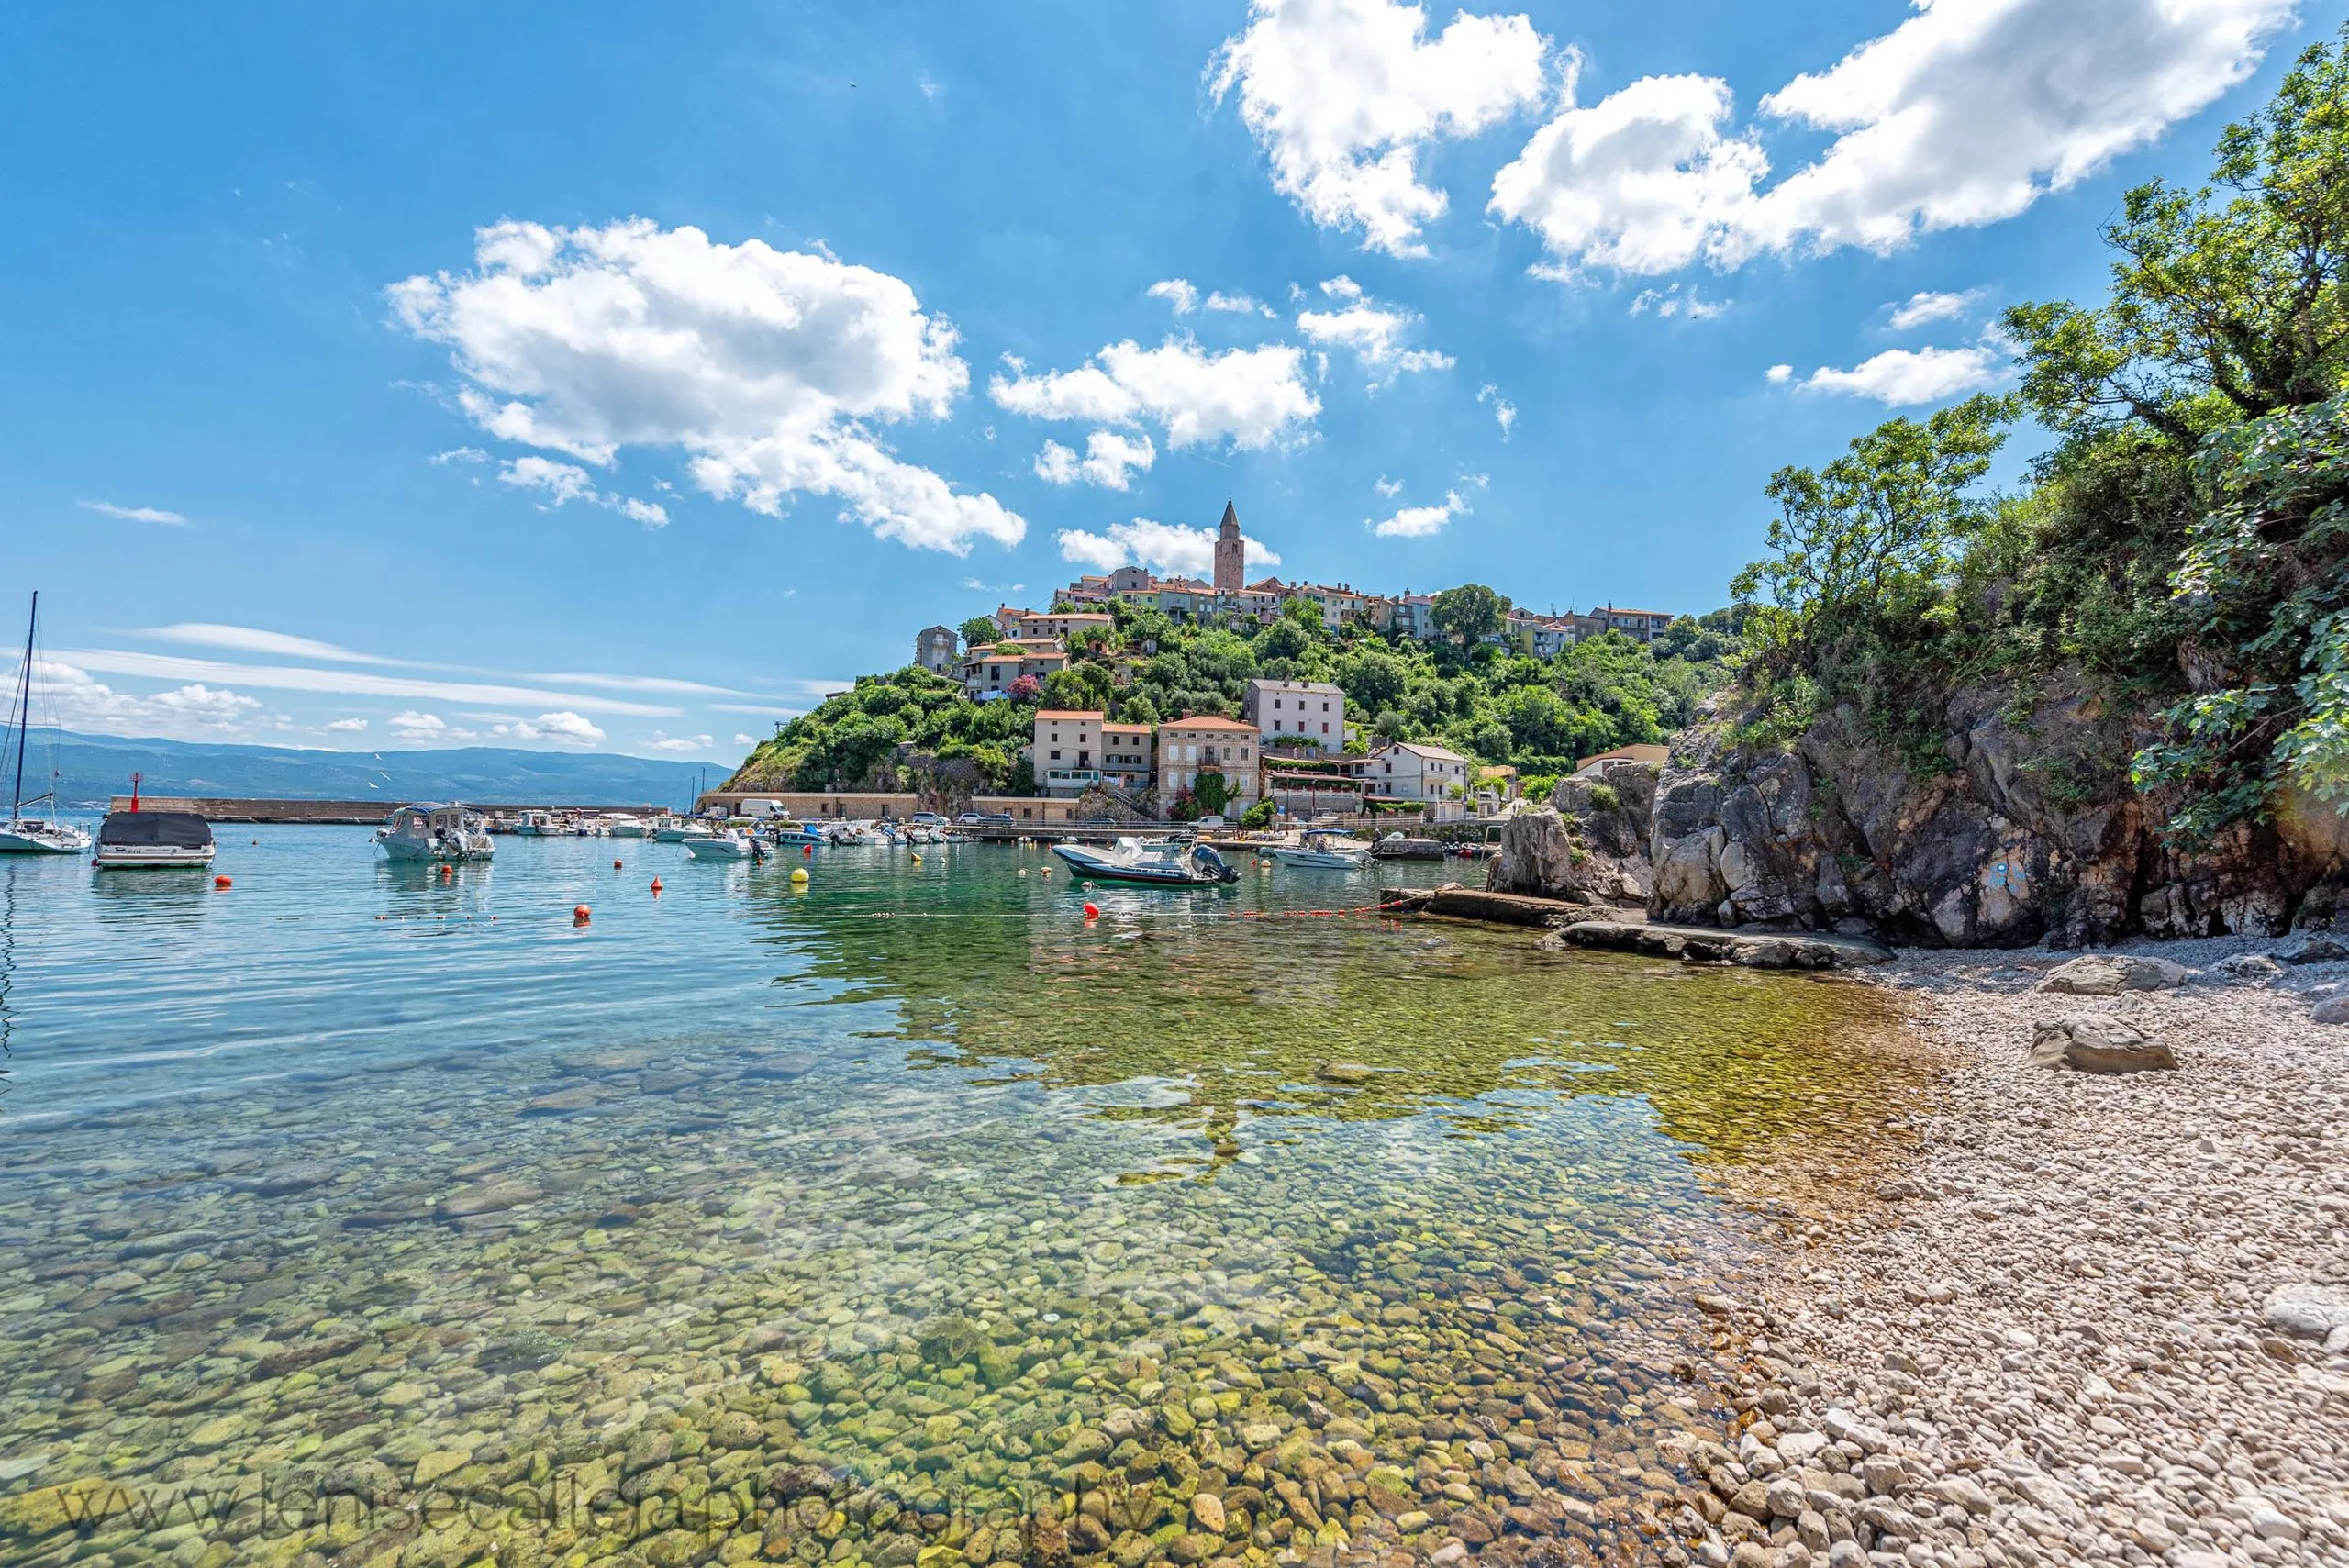
Don’t just stop at taking one shot of that famous monument or building. Go around it, change angles, zoom in and out, take portrait and landscape shots etc. Then when you go back home you will be able to choose the best one and delete the rest. Nowadays a couple of SD cards won’t cost a lot, but the memories you capture while on holiday are priceless.
2. Turn on the grid lines
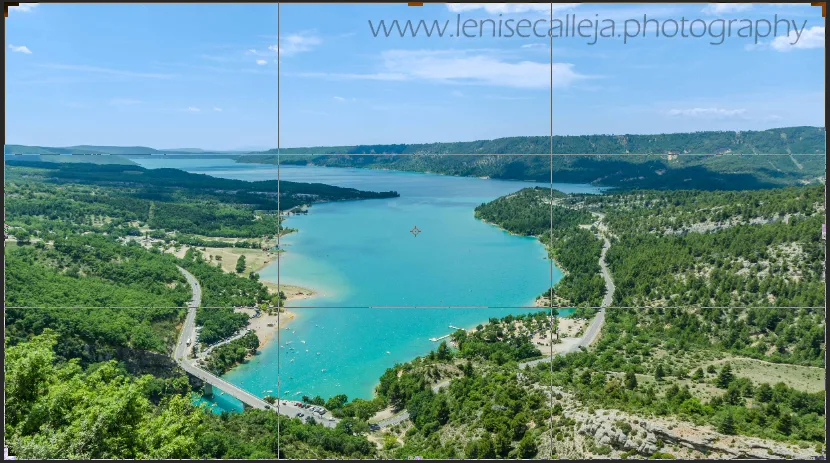
All cameras and even mobile phones have this useful option, which may annoy you while you are taking a picture, but it is very helpful especially when taking a picture of landscape or seascape. Nothing is more annoying than having a slanting horizon and it immediately captures the attention of the viewer. Grid lines will also help you in your composition since the grid divides the screen in 9 smaller squares so that you can observe the Rule of the Thirds (I will explain this in another post).
3. Crop the unnecessary

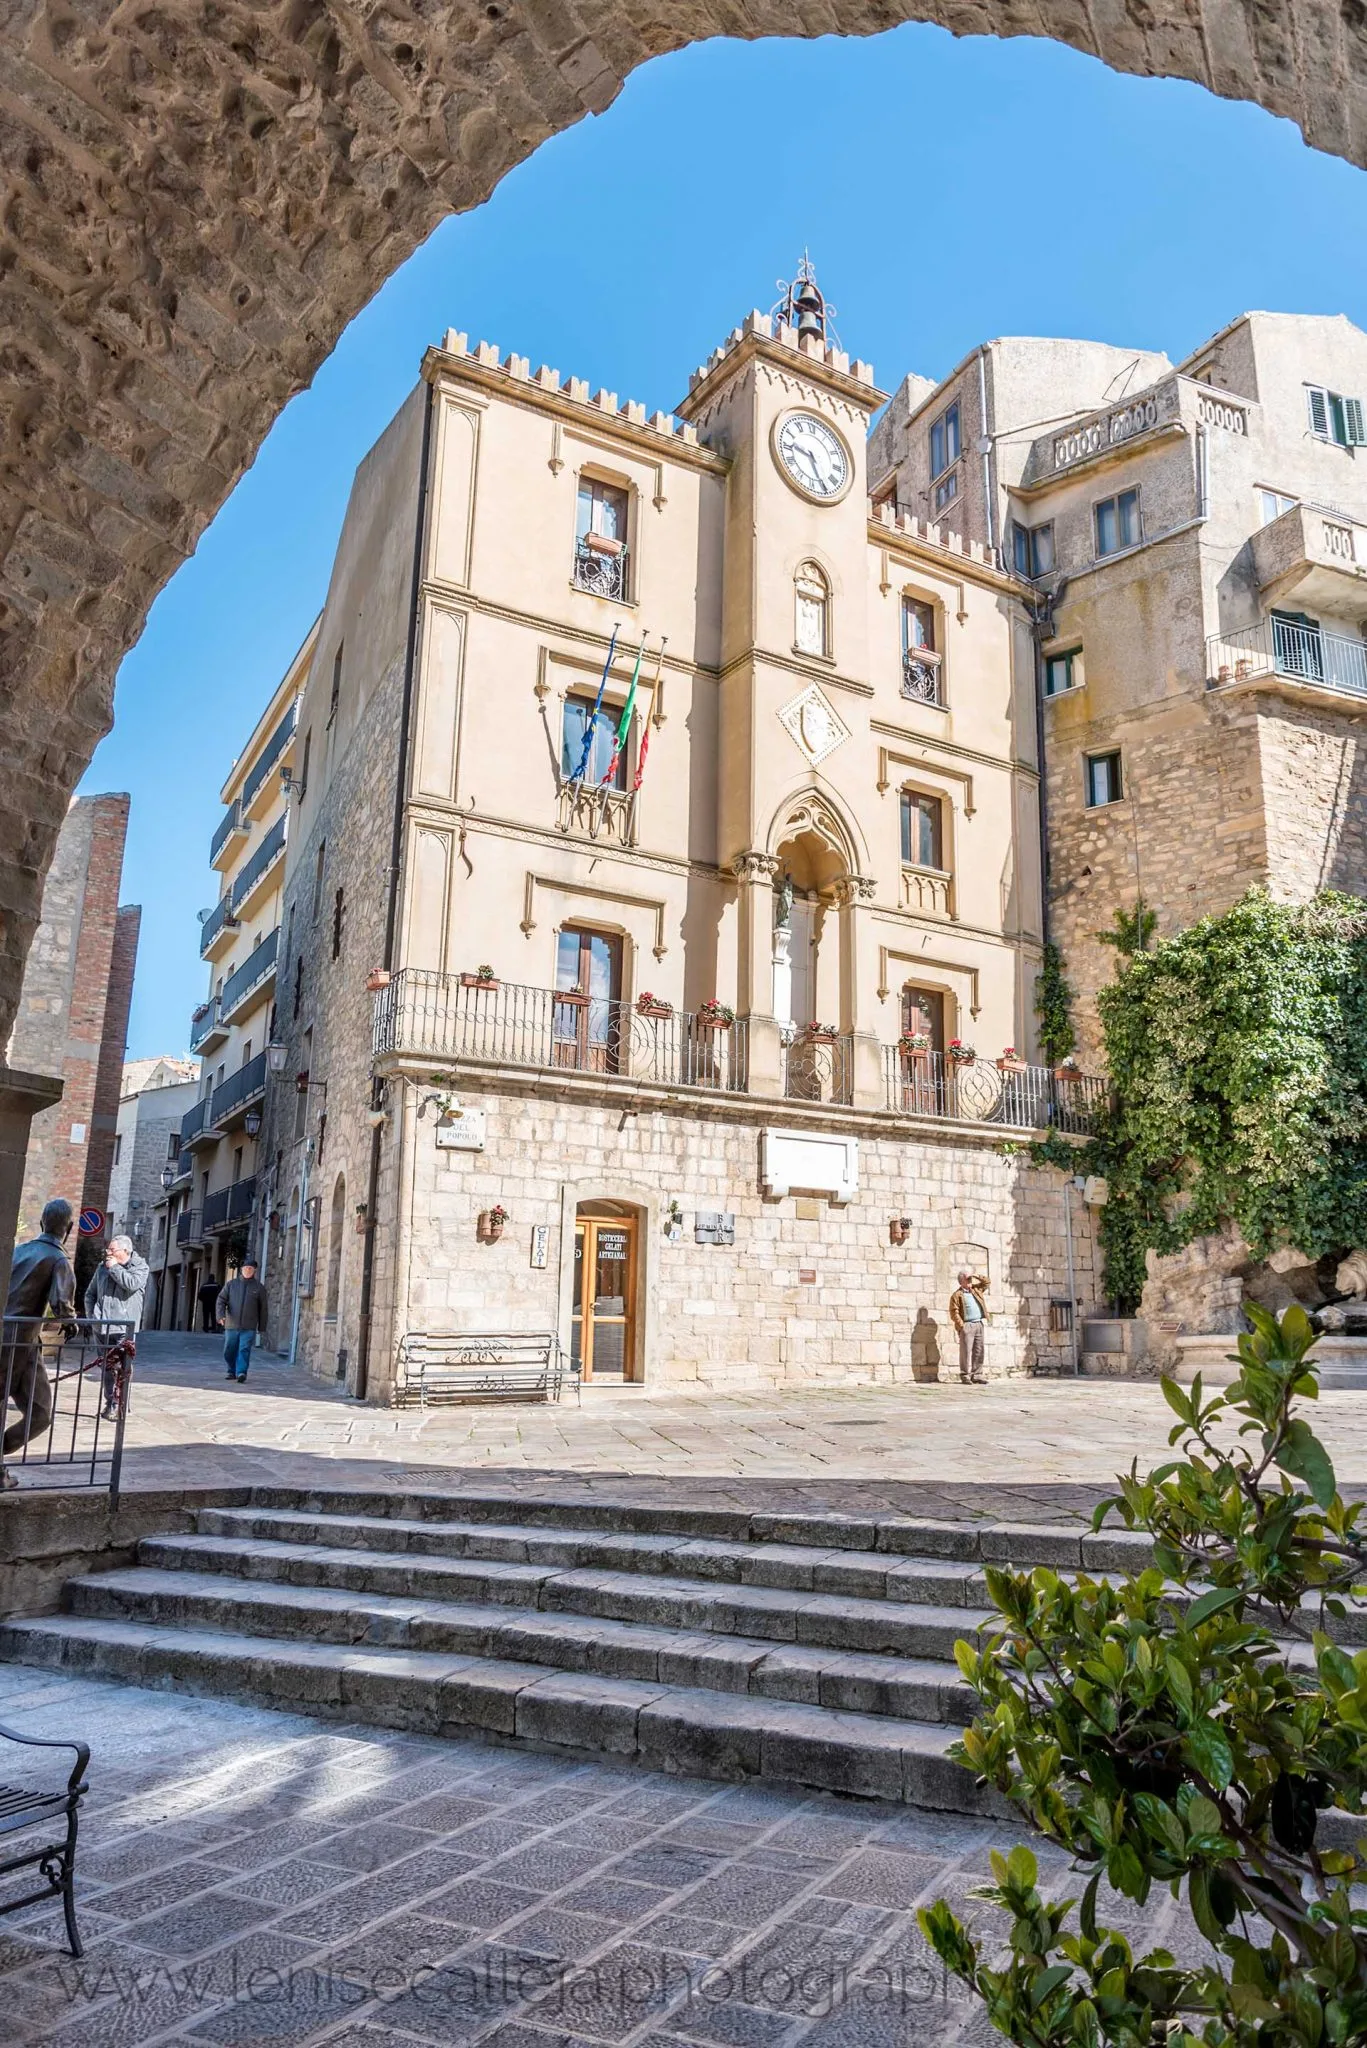
Sometimes you see people moving around, electricity wires, dustbins and other objects which only distract the viewer from the main subject of a picture. Sometimes all you need to do is move your camera and change the angle to eliminate the unnecessary objects from the scene. However usually you notice this while you are viewing your images on the computer screen, therefore the only solution is to crop out your picture. This small correction may seem ridiculous but will leave a huge impact on your travel photos. Obviously a better option would be using Photoshop to eliminate unwanted objects, but we will look into that at a later stage.
4. Flash is not just for indoor or night shots
When you are taking a picture of someone and there are difficult light conditions such as harsh light coming from mid day sun or when the light is coming from behind the subject, fill-in flash might help in improving the light on the person in the picture. Do not leave the flash on auto because the camera won’t detect the need of using a flash during the day! When you see that the person has harsh shadows on her face (which for example will make the nose appear huge) or the face is not even recognisable due to low light, all you need to do is turn on the flash. But remember do not go too far from the subject since the flash range is usually just a couple of meters, otherwise it won’t make any difference!
5. Plan ahead
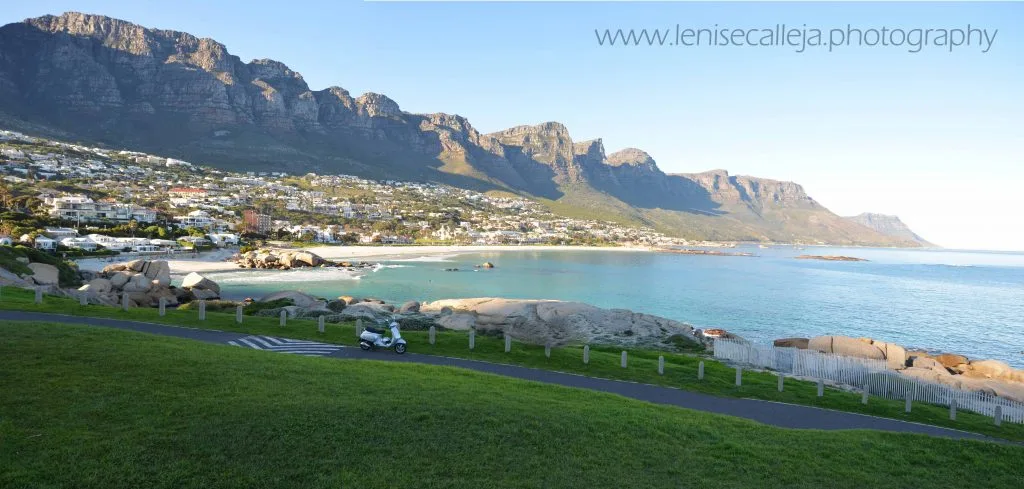
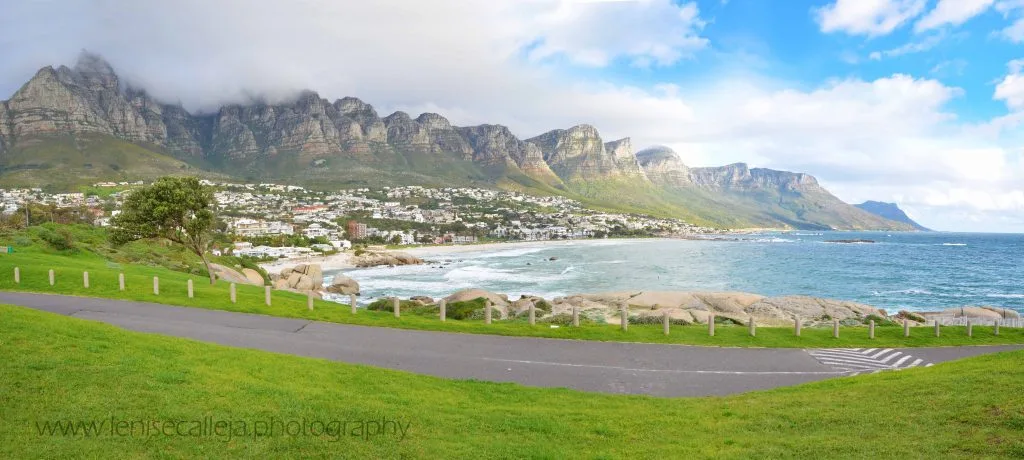
You can’t pretend to just go somewhere without planning and always be lucky enough to be there when there are favourable light conditions for the perfect shot. All you need to do is go on Google maps before and check whether that famous building or that sandy beach is facing west or east and then decide whether to go in the morning or in the afternoon. Remember the sun rises from the east and sets in the west. For more information you can read my previous post Being at the right place at the right time and also check out the photography planning section in my Expert Guide to Planning a Trip. In the picture above you can notice the difference in light at the same place in the morning and in the evening. With the shadows on the mountains in the morning you cannot see any detail. Even the shade of the grass is different since there is shade is not as vivid as in the afternoon.
Most of all enjoy your trip and know when it is the right time to stop taking pictures and observing the surroundings with your own eyes!